I currently store all my polish in a Helmer that I bought from Ikea for £25. It's the perfect storage for Nail varnish and can hold up to 500 polishes. However... they are hidden away and I can't see them and often spend time rooting through the draws trying to find a polish that I'm after.
What a lot of people do, especially Nail Polish Bloggers is display their lovelies in a Nail Polish Rack which makes a great background for videos. I've been eyeing racks up (Whay Hey) on the internet and you can pay anywhere between £25-£75 for them depending on how big what the colour is etc... I've also watched a few You Tube videos on how to make your own as you can do this rather inexpensively using Poster Board and wood, which is what I opted for as I wanted something that was going to be sturdy. I settled on using this video as a guide.
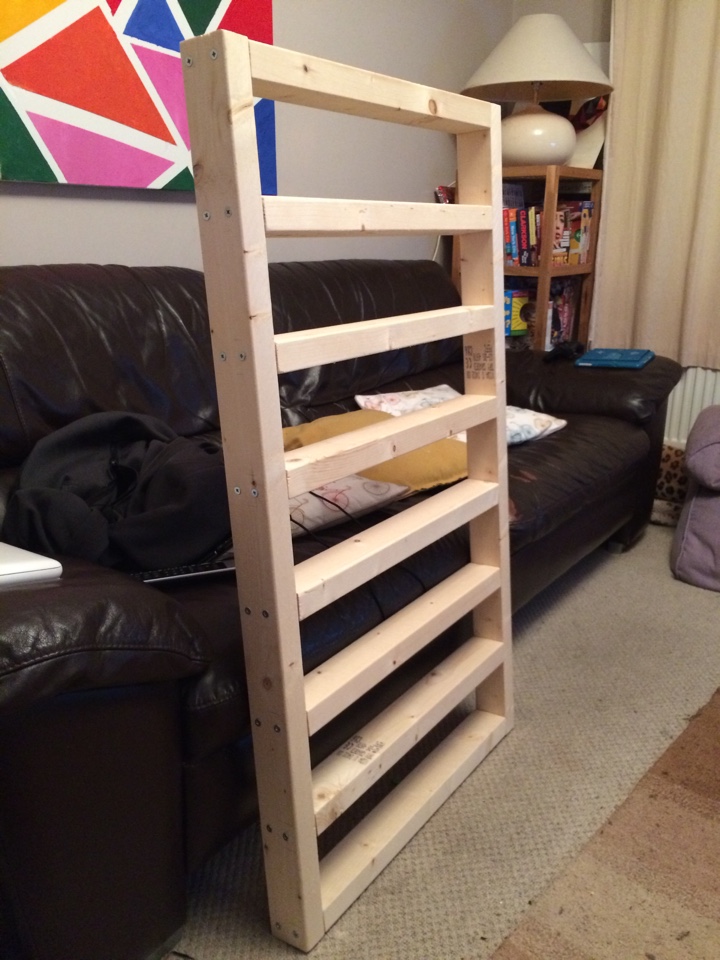
The problem I encountered was finding a finished wood in the size that they used in this video for a decent price. B&Q here in the UK had some packs of wood you could buy but this worked out £9-£10 a plank and I'd need three, so I opted for this Softwood CLS which was offer for £2.50 a piece but these were 38mm thick and 63 mm in width.
I also didn't have a fancy saw like they had in the above video so just used a regular saw to cut my pieces.

As the wood was much thicker I used long screws to fix it together. Drilling through the side panels so I only had to screw into the shelves. Actually I got my other half to screw these in as it was still quite difficult.
Once assembled, I sprayed with two coats of primer and then three coats of spray wood paint in a cream colour. I ran out of spray after the last coat and I think it could have used another to hide the wood knots. I got all my paint and primer from B&Q too, however I did find cheaper at Wilkos after I'd make the rack!
I bought two Poster or Mounting Boards from HobbyCraft for the back and nailed these on to the rack once cut to size with some small nail tacks which I bought from a local hardware store for 99p.
And here is the finished rack with me polishes on it!

Very happy with the result, I'll need to build a few more however to hold ALL my polish, so quite a few bottles are still hiding in my Helmer. I enjoyed the process in making the rack so I'd recommend trying this if you like DIY or building things, here's a full breakdown of all the materials (with links where possible) I used and prices.
3 x Softwood Planed CLS Timber (T)38mm (W)63mm (L)2400mm = £7.50
Ivory Satin Spray Paint 400ml = £6.74
Wood Primer in white = £4.99
2 x Mount Board in cream from HobbyCraft = £6
Pack of 75mm Screws from B&Q = £5
Bag of 100 Tacks/Small Nails = 99p
So it worked out to be £31.22 to build the rack and I do have screws, tacks and Mount Board left over if I wanted to make another. I've been able to store 108 polishes in this rack including the ones I've stored on the top as I made my shelves a little longer so I could storer 14 polishes per shelf.
Have you bought or made your own Nail Polish Rack and how much did you pay and how many polishes does it hold?
No comments:
Post a Comment